Showing posts with label Basics. Show all posts

Monday, December 19, 2011

Whipped Cream

What people call whipped cream really isn't.  Whipped cream is just that, cream that has been whipped, no flavorings added.  What people call 'whipped cream' is really called Chantilly Lace.  Sounds fancy and yummy!  Hehe! This is the equililant of one of those store bought Cool Whips, and SOO much better!

Ingredients:
1/2 c heavy cream
1/2 t vanilla
2 T powdered sugar


Directions:

1. Pour all ingredients into mixing bowl


2.  Whip until thickens and stiff peaks form.  NOT ANY LONGER!!  You'll make butter!~ But, you already know that from this post!


This is thickend liquid.


This is soft peaks.  The beater makes a mound as it comes out of the cream, but the peak immediately falls.


This is firm peaks.  STOP!

3. Put in the fridge, cool for at least an hour, serve.

VARIATIONS:
1.  Add 2 oz melted chocolate to cream, refridgerate for an hour, remove vanilla, continue with step 2.
2. Replace vanilla with mint, almond, or rootbeer extract!
3.  Replace vanilla with bourban, rum, flavored vodka, or, my favorite: TEQUILA!

Monday, December 12, 2011

Graham Cracker Crust


Ingredients:

2 cups any cookie
1/2 c butter, melted
1/4 sugar


1.  Place cookies in bag
2.  Roll with rolling pin until in finely crushed


3. Add sugar and butter


4.  Press into bottom on pie pan
5. Place in 350* oven for 5-7 minutes
6.  Let cool before using.

VARIATIONS:
1.  Gingersnaps!  Oreos!  Chocolate Chip!
2.  To use actual graham crackers: use about 1 package worth (the plastic 1/3, not the entire box!)
3.  Spiced crust:  add cinnamon, ginger, nutmeg,
4.  Add 1/4 c crushed nuts!

Monday, December 5, 2011

Sweetened Condensed Milk

Due to high demand, I caved on the "sweets for December" theme.  I wasn't going to, because most of what you think of for Christmas are family recipes, and you all know how to cook your own family recipes!  I'm here to get you back to the basics! I'll teach you how to get away from all those cans, boxes, and fillers!  First up is Sweetened Condensed Milk.  Alot of recipes I was looking at contained it, and I wanted to know how to make it.  Then all the recipes called for Powdered milk.  If you're going to make the stuff, why bother with something EVEN MORE PROCESSED THEN THE ORIGINAL?!  So after MORE research, I FINALLY found one that is core: down to the basics.  Just like Grandma likes it!

-
Sweetened Condensed Milk
Makes 2 cans
(my theory: if you're gonna make some, make some for stock, as well, saves time for later!)


Ingredients:
6 c. Milk
2 c. Sugar


*Note*  I did find a few recipes that added butter and vanilla, but I found the milk and sugar was plenty of flavor for my usage.  But, if you like, add 12 T butter 4 t. vanilla to above recipe

Directions:

1.  Combine milk and sugar into a large saute pan over med heat.  Notice the level of the milk in relation to the silver rivits on the left.

2.  DO NOT BOIL, bring to a steam

3.  My stove top is funny, so I reduced my heat to just below med, most stove tops this would be med-low


4.  NEVER BOIL, keep a low steam going at all times.  This picture is an hour in the process.  Notice the milk level at the silver rivits on the left. 

5.  Reduce by half, it took me about 2 hours.

*NOTE*  Notice the thickness of the milk in picture 4 right off the heat compared to the first picture after cooling overnight. 

Variations:
Thanks to a wonderful friend of mine, I have found out that if you steam your Sweetened Condensed Milk (my recipe, or GASP! store bought) for an additional 2 hours, you make Dulce de Leche, or caramel!

I know, your asking yourself why should I bother cooking this for 2 whole hours?! HAVE I TAUGHT YOU NOTHING?! TASTE! CHEMICALS! PRESERVATIVES!  Yes, I know its 2 hours.  But you are not staring at the damn thing.  Just make sure you don't scald (READ: BURN!) the milk and you can basically forget about it.  This freezes nicely.  Put it in Mason jars, use in the fridge in 1 week, in the freezer for 6 months, if it will last that long!  And who doesn't know about 30 recipes with Sweetened Condensed Milk?! You don't know any?  Well, stay tuned, ladies and gentleman.....;)

Monday, October 10, 2011

Pie Crust

Pie Crust
2 crusts

Ingredients:
2 1/4 c flour
pinch salt
1 c butter VERY cold
4-6 T ICE water
Directions:
1.  Cut up your butter into cubes, freeze for about 20 minutes

2. Toss frozen butter in with remaining ingredients.

3.  Rub butter between fingers
4.  Work butter into flour until looks mealy.  When you can make a rough ball out of the dough, you're done.  There SHOULD be big clumps of butter and fully worked in butter.  The big clumps make the dough moist, the fully worked in butter makes it flaky. 
4.  Add ICE water 1 T at a time
5.  When entire ball clings, you are done! The amount of water you add will change with every time you make this recipe, as the weather plays a big part in how much water you will add.  An overworked dough at this point would be tough

6.  Use one pie crust now,  saran wrap and aluminum foil the second so you have always have a pie crust on hand!

7.  Keep crust in the fridge until ready to use.

Monday, October 3, 2011

Roasted Pumpkin

I have dedicated the most of October to the greatest of all fall fruits:  PUMPKIN!  When I think cold Autumn nights, I cant wait to get some pumpkin anything! Lets start with FRESH pumpkin.  Don't buy that canned crap!  Libby's canned pumpkin at my supermarket is $3.15 for 15 oz (a little under 2 cups).  The 6 pumpkins I bought cost me $12.  They made 19 very generous cup portions.  Thats a savings of  $19.50! That way I can have yummy pumpkin (pancakes are my favorite!) any time of the year! 

Roasting Pumpkin
1 lb pumpkin = roughly 1 cup pumpkin puree

Ingredients
1 small, firm PIE pumpkin


Directions
1.  Wash the pumpkin and remove any stickers, preheat your oven to 500*
2.  Cut the pumpkin in half THE PROPER WAY: Use a serrated battery operated knife, carfully cutting down the middle just after the stem. 

2.  Cut the pumpkin in half THE JESSICA WAY:  Pop off the stem by knocking it against your counter top.  Take a seratted knife and start cutting down the middle of where the stem once was.  Use your hammer and carefully hammer the knife down the pumpkin. 


3.  Pull out the strings and seeds (saving the seeds, of course, recipe for Pepitas soon!) Using a large, metal spoon is easiest
4.  Place about an inch of water into your pyrex dish
5.  Place the pumpkins inside down into the water
6  Roast pumpkins for 45-60 minutes, depending on the size.Cook until a knife will easily penetrate and come out of the pumpkin easily.

7.  Let the pumpkin rest to room temp, or cool in the fridge until you're able to work with it.
8.  The skin of the pumpkin should easily peel off of the cooled fruit
9   Throw away the skin, put the fruit into a big bowl
10.  You can freeze how it is if you like a little texture to your pumpkin, or-
11.  Take an immersion blender to the fruit, blending until smooth
12.  Freeze in 1 cup portion baggies. Most recipes use 1 c portions, so this is easiest.
13.  To use frozen portions:  Defrost totally.  Cut an edge off your baggie and squeeze that yummy fresh pumpkin out the baggie and use!


Monday, September 26, 2011

Cream of Chicken Soup

I use this recipe as the "insides" to my Chicken Pot Pie, its one of my husbands favorite meals.  This can also replace your canned cream of chicken soup!  No preservatives, it tastes better, and there is more good stuff in this recipe!  1/4 of this recipe = roughly one can of soup.  Subtract the potatoes and add peas or green beans for different vegetables.  Potatoes tend to be finicky when frozen. The other servings can be frozen for up to 3 months, but the texture may be a little thicker than usual.  Rewarm, add milk, and stir like mad! 

Cream of Chicken Soup
2 servings

Ingredients:
4 T butter
1/4 c flour
1 c corn
3 carrots, diced
1 med onion, diced
3 Med potatoes, diced
3 garlic cloves
1/2 lb chicken, cooked (think leftovers!)
2 c broth (I usually use Smoked Cajun-yum!)
1 c milk
salt and pepper to taste

Directions:

1.Saute vegetables in butter for 10 minutes. 


Add chicken, warm

Add flour, cook for 5 minutes


Add broth and milk


Salt and pepper to taste, serve

If using for pot pies:

Ingredients:
1 pie crust = 2 individual SINGLE CRUST pot pies
Directions:
  1. Let soup fully cool, otherwise crust will be soggy
  2. Pour soup into individual bean crocks
  3. Cover with pie crusts
  4. Poke holes into crust
  5. Bake 40-50 minutes
  6. Let cool AT LEAST 20 minutes, serve

Monday, September 19, 2011

Vegetable Stock

One of my first ventures in my scratch cooking was vegetable stock.  After doing it once or twice with vegetables I bought specifically for my stock, I got to thinking.  I throw away a lot of odds and ends vegetables that still have all those nutrients!  Onions in particular. So I started saving my remnants.  This recipe was spawned from my frugel-ness. 

My stock bags change with every bag, but roughly they contain:

2 onions
1 carrot
1 celery stalk
1 green pepper
2 jalapenos
3 garlic cloves

Vegetable Stock
about 8 cups

Ingredients
1 gallon bag of Stock Vegetables, defrosted
2 T olive oil
3 bay leaves
1 T Kosher Salt
small handful of peppercorns, plus some freshly cracked black pepper
olive oil
water


Directions

1. Add olive oil to your stockpot and turn heat to med-high

2.  Add stock bag pot , saute for about 5 minutes


3.  Add enough water to cover the vegetables x2.


4.  Bring to boil

5.  Turn heat to med-low

6.  Boil until reduced by half, about 3-4 hours.  The longer you cook your broth, the more condensed it will be.  Less liquid= more concentrated goodness!

7.  Let cool slightly on the stove, place in refrigerator overnight
(NOTE:  If making a meat-based broth, after it has been sitting in the fridge overnight, skim the fat off the top for fat-free broth!)
8.  Place colander over a gallon pitcher and CAREFULLY pour stock into pitcher.  Toss vegetables.


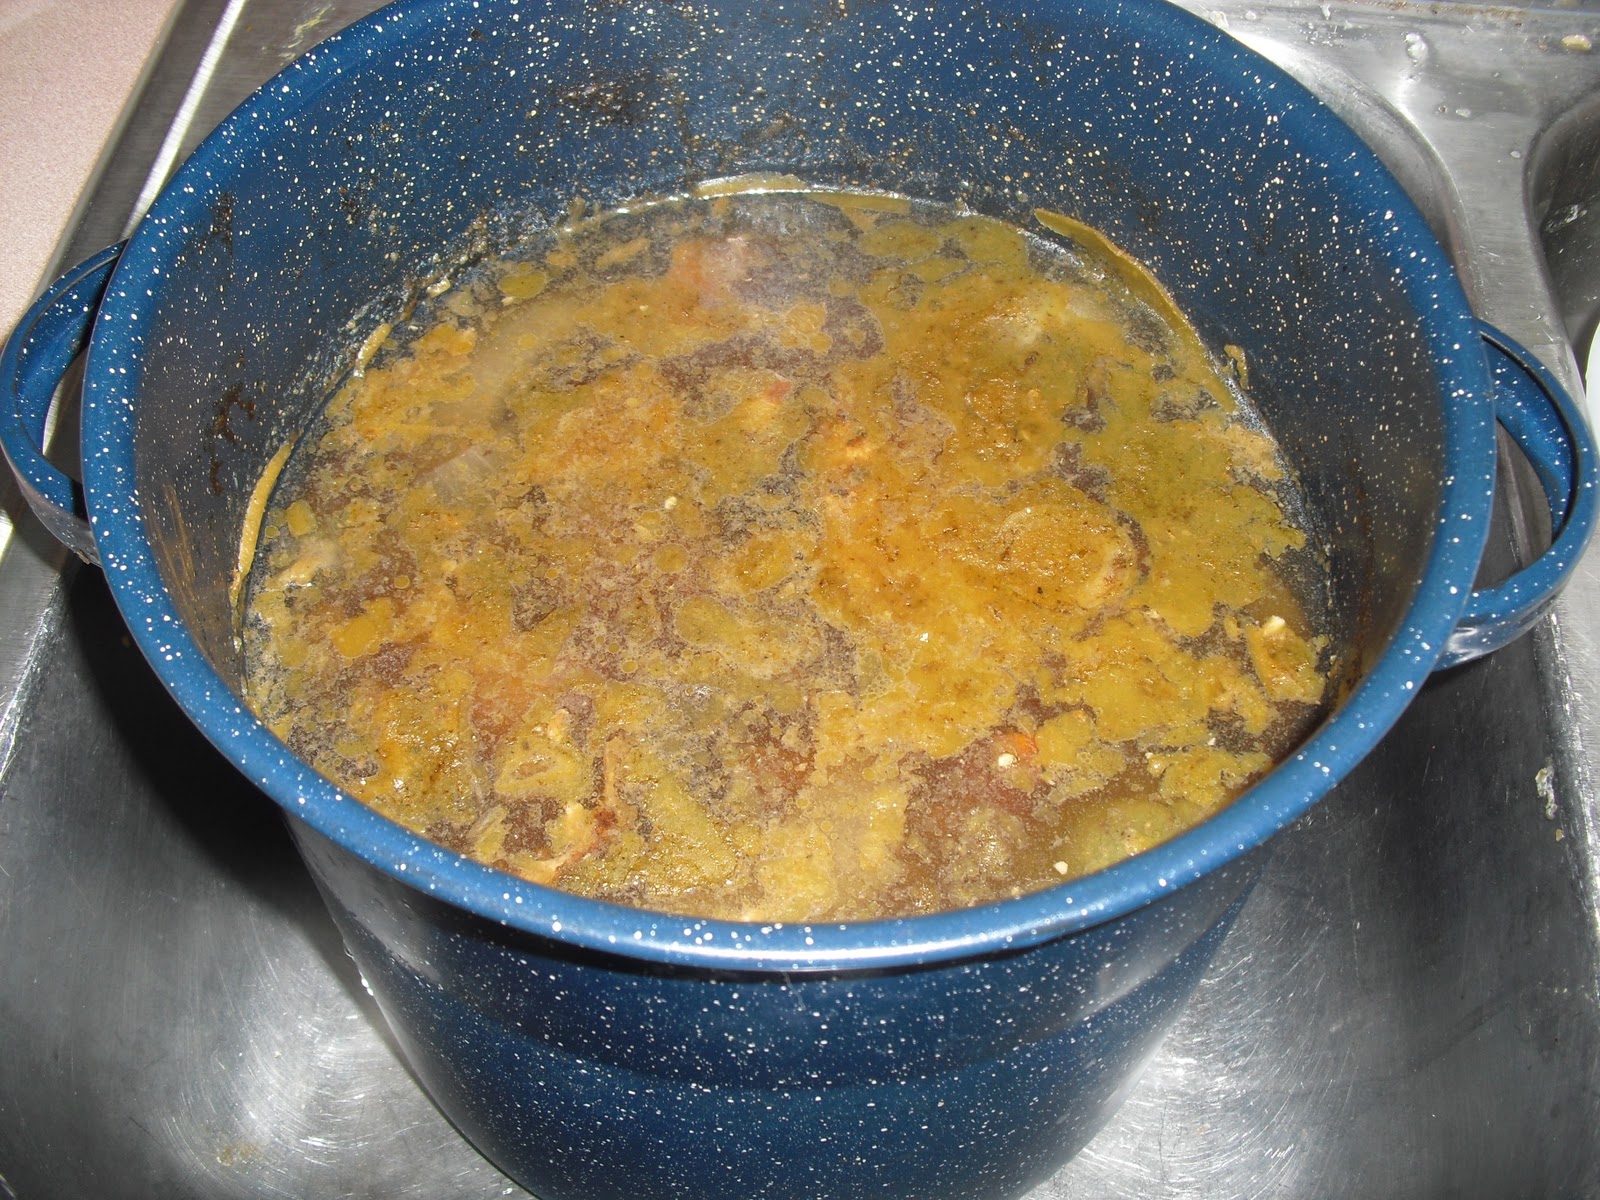
9.  Pour liquid back into stockpot or another container (look how yummy!)


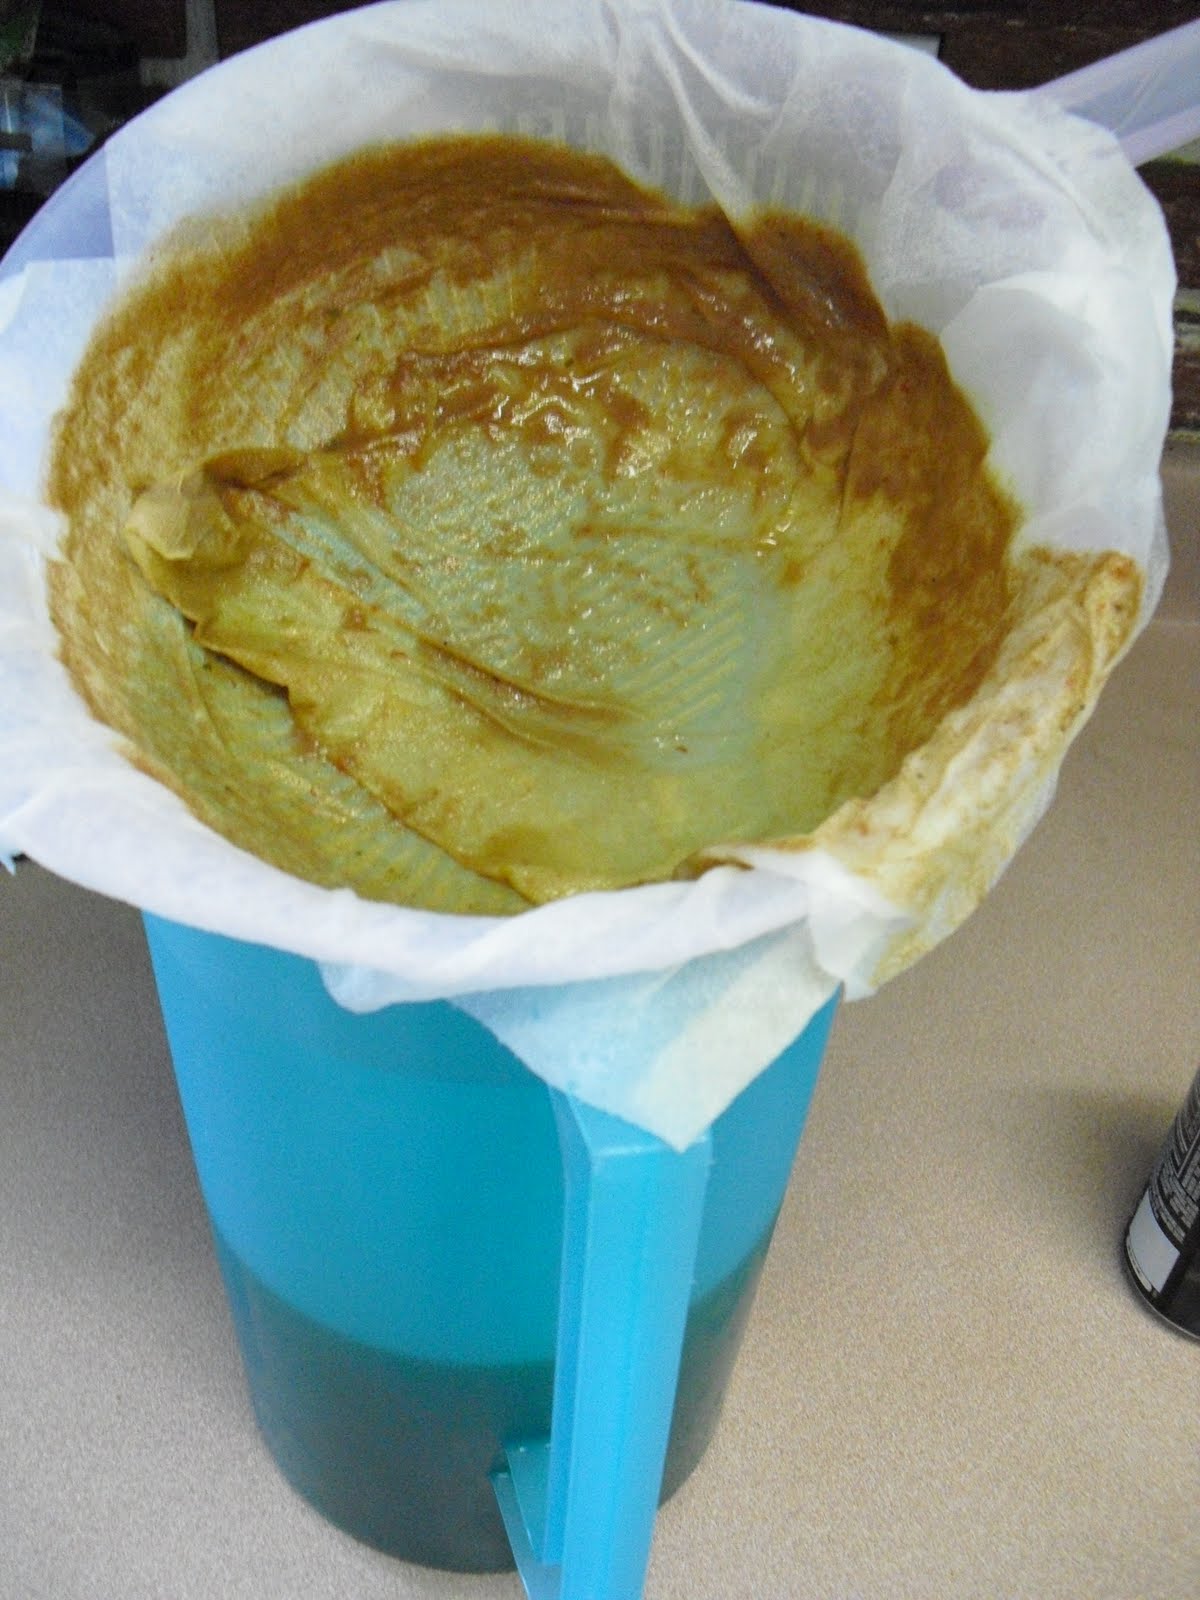
10.  Line colander with cheesecloth (or paper towels) and CAREFULLY pour stock into pitcher again.  This may take awhile and at least 2 cheese cloths, depending on how much sentiment is in your stock. (Note, you don't need to strain the sentiment, but I find by removing it has a better texture in the food I cook my broth with)


11.  Pour out into 1-2 c portions and put in freezer bags.  Place on cookie sheet flat and put in the freezer until frozen solid.  Keeps for roughly 6 months, if it will last that long!


Variations

~Smoked chicken- After Steve smokes a (yummy!) whole chicken, I put the (picked clean) carcass in my stockpot (without a stock bag) and add water to cover x2 and do the same process.  Use also with store bought (gasp!) or homemade roasted chicken. This makes DELICIOUS gravy!

~Chicken- After sauteing vegetables, place an entire whole raw chicken in the stockpot and add water until 2 inches from the top of pot.  Cover and put to a low boil for 6-8 hours.  After cooling in refrigerator overnight, skim stock of fat and continue with step 8. Remove all meat from carcass and use for Chicken Soup, pot pie, or any other casserole needing cooked chicken.

~Thanksgiving Turkey!!

~Beef- Go to your local Butcher and ask for Beef hocks (knuckles).  Preheat your oven for 350*.  Smear the hocks with tomato paste and place in a roasting pan.  Cook for an hour.  Continue with step 1, adding hocks after vegetables have simmered.


UPDATED:
This is Cajun Turkey Stock:

Before skimming fat and removing bones and vegetables

After skimming most of the fat and removing bones and vegis

During the filtering
*Tip* Wet your cloth before you begin filtering.  That way, your broth wont soak it, it will just go into your pitcher.

Look at that yummy goodness!